DESCRIPTION:
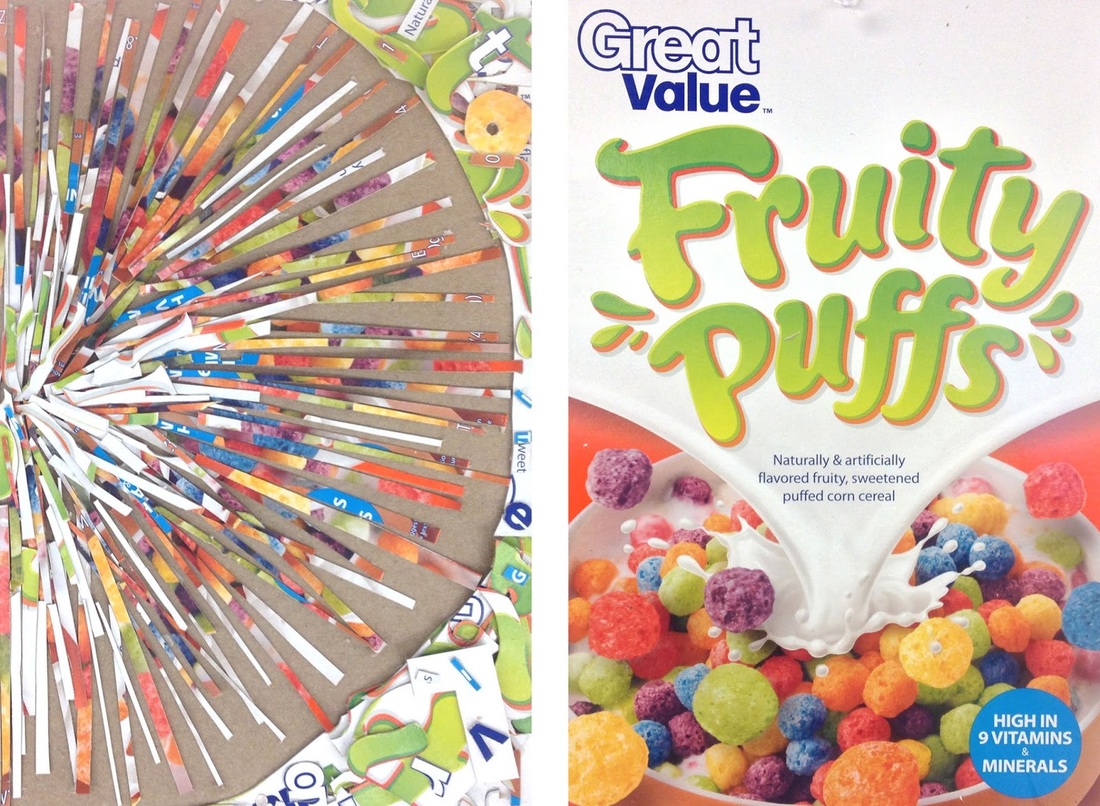
Deconstruct a cereal box into basic art elements (colors, shapes, lines) and rearrange the elements to create a new design.
OBJECTIVES:
Understand design as "the art of arrangement".
Reverse engineer a design.
Work creatively within project limitations.
IMPLEMENTATION:
Materials and Tools:
two identical cereal boxes
scissors
X-Acto knife
glue stick
Process:
1) Cut off the identical front "cover" of both cereal boxes.
These are the only two parts of the cereal box you will need. Discard or eat the rest.
One cover will remain whole. You will create your new design on the back (plain cardboard) side of it.
2) Entirely deconstruct (cut apart) one of the covers into its basic elements: lines, shapes, colors, and values. Do not discard any pieces.
3) Use the cut out elements to create a new design on the back of the uncut cover.
Upon completion of the project, you will be able to view the original cereal box design by flipping your project over.
Guidelines:
Pay attention to craftsmanship. Cut and glue cleanly and precisely.
You must use 100% of the deconstructed cover (every single piece) when creating your new design.
Your pieces may overlap, but you may not overlap pieces in order to conceal unwanted pieces. At least a small portion of every piece should still be visible.
Plain cardboard (the back of the uncut cover) may be visible in your final design.
Your new design must be unrecognizable from the original cereal box.
A viewer should not be able to easily recognize that your design is made up of a cut up cereal box.
Avoid narrative and representational imagery. Focus on creating an interesting design.
http://stewatson.blogspot.com/2013/07/art-130-lesson-plan-cereal-box.html